
Dragon Age The Veilguard walkthrough: How to complete the Lives Spared quest
Dragon Age The Veilguard features a plethora of main quests, side quests, and companion quests to delve into. With the title having multiple regions to explore, you can take on several interesting side quests to get prominent rewards. You come across the Lives Spared side quest in the Hossberg Wetlands area, which tasks you with investigating the disappearance of a few Wardens.
This walkthrough will guide you through the Lives Spared side quest in Dragon Age The Veilguard.
Lives Spared quest in Dragon Age The Veilguard: Location
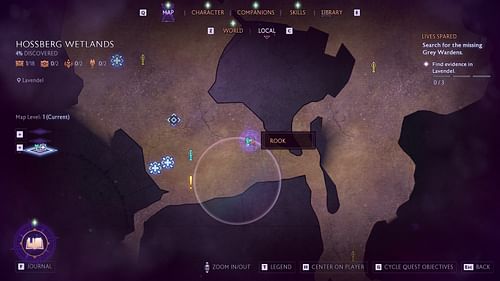
If you want to start the Lives Spared side quest in Hossberg Wetlands, ensure that you have completed The Siege of Weisshaupt main story quest in Act 1: Signs and Portents. Following that, you can explore the area and access various quests available there.
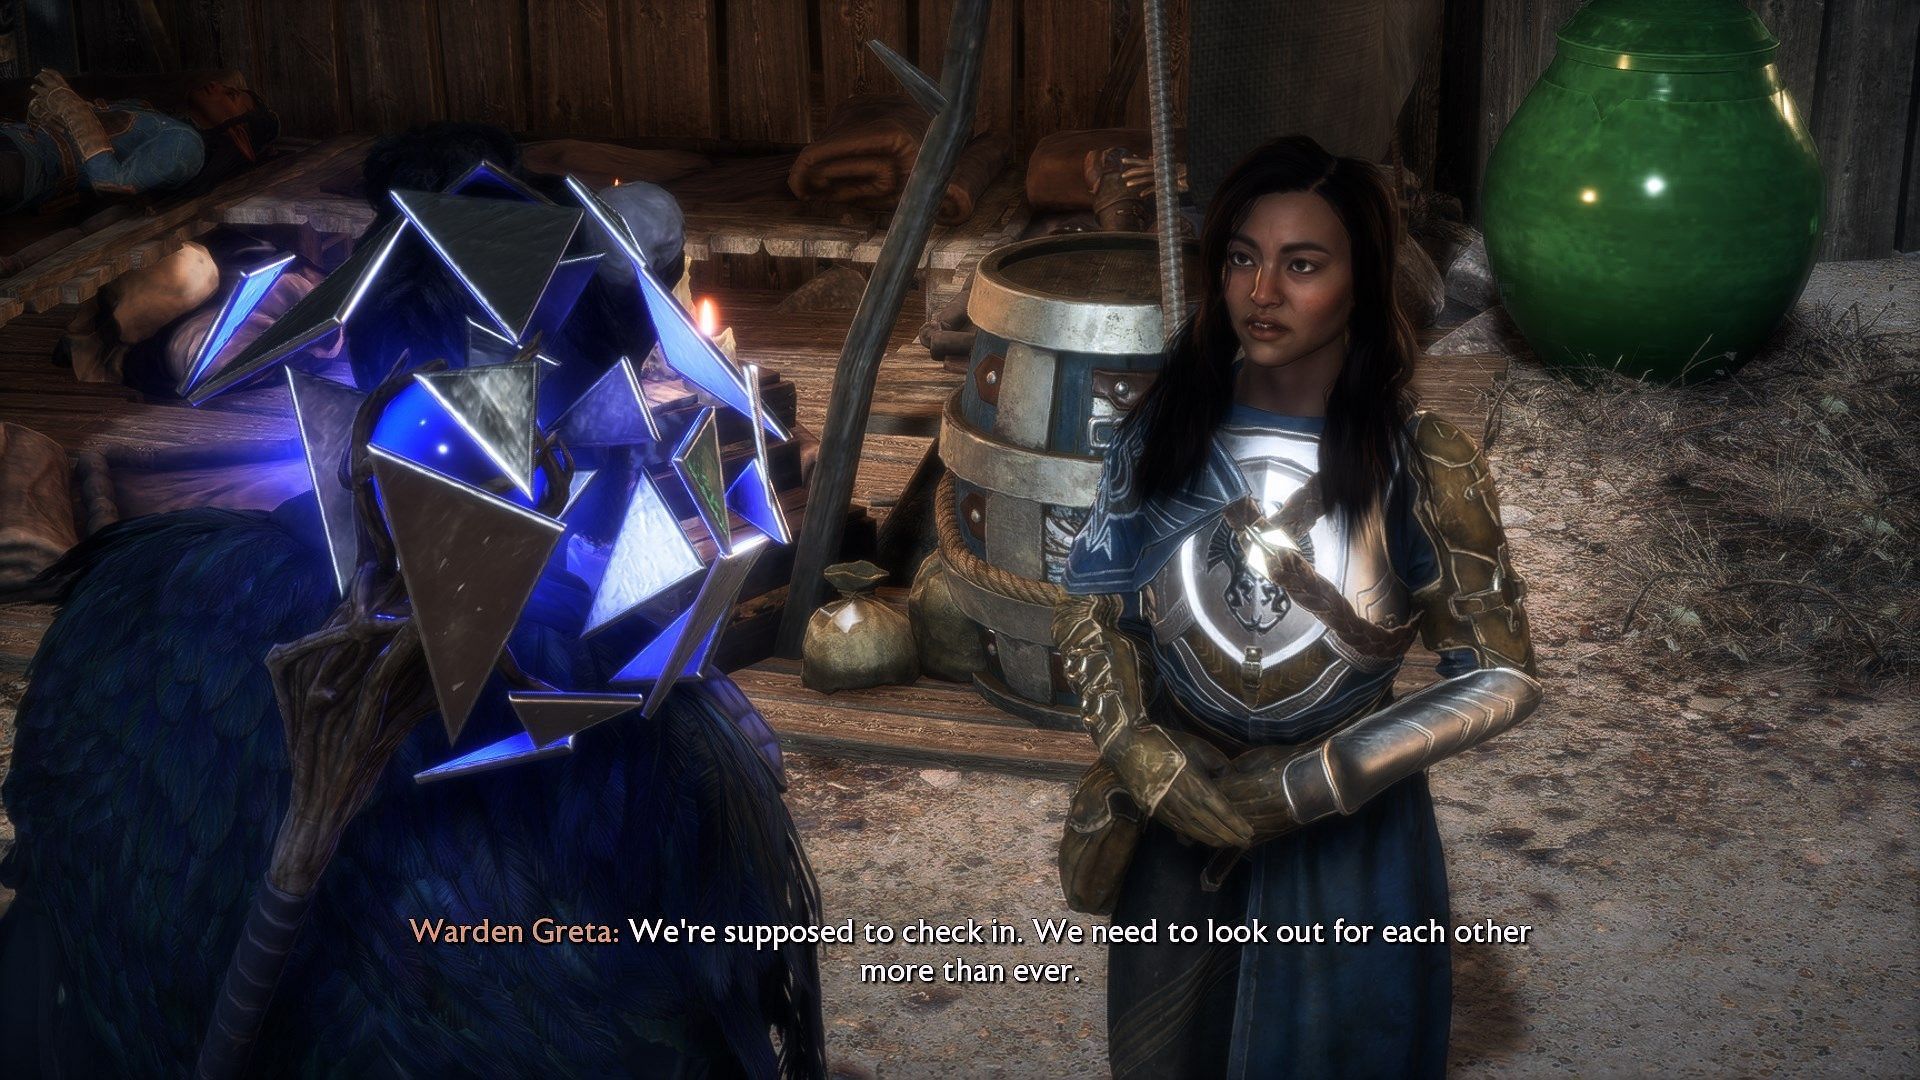
To start the Lives Spared quest, navigate to the Becaon located in the southwest. Just proceed to the east to find and talk to Warden Greta. She will give you subsequent tasks to find some evidence in Lavendel.
Also read: Warden Grey's Final Repose quest in Dragon Age The Veilguard
Lives Spared quest in Dragon Age The Veilguard: Walkthrough
With a group of Wardens having disappeared from Lavendel in the Hossberg Wetlands, you are tasked with investigating the situation by locating three pieces of evidence around the area. To find the evidence of the missing Grey Wardens, go to the following locations:
Evidence 1:
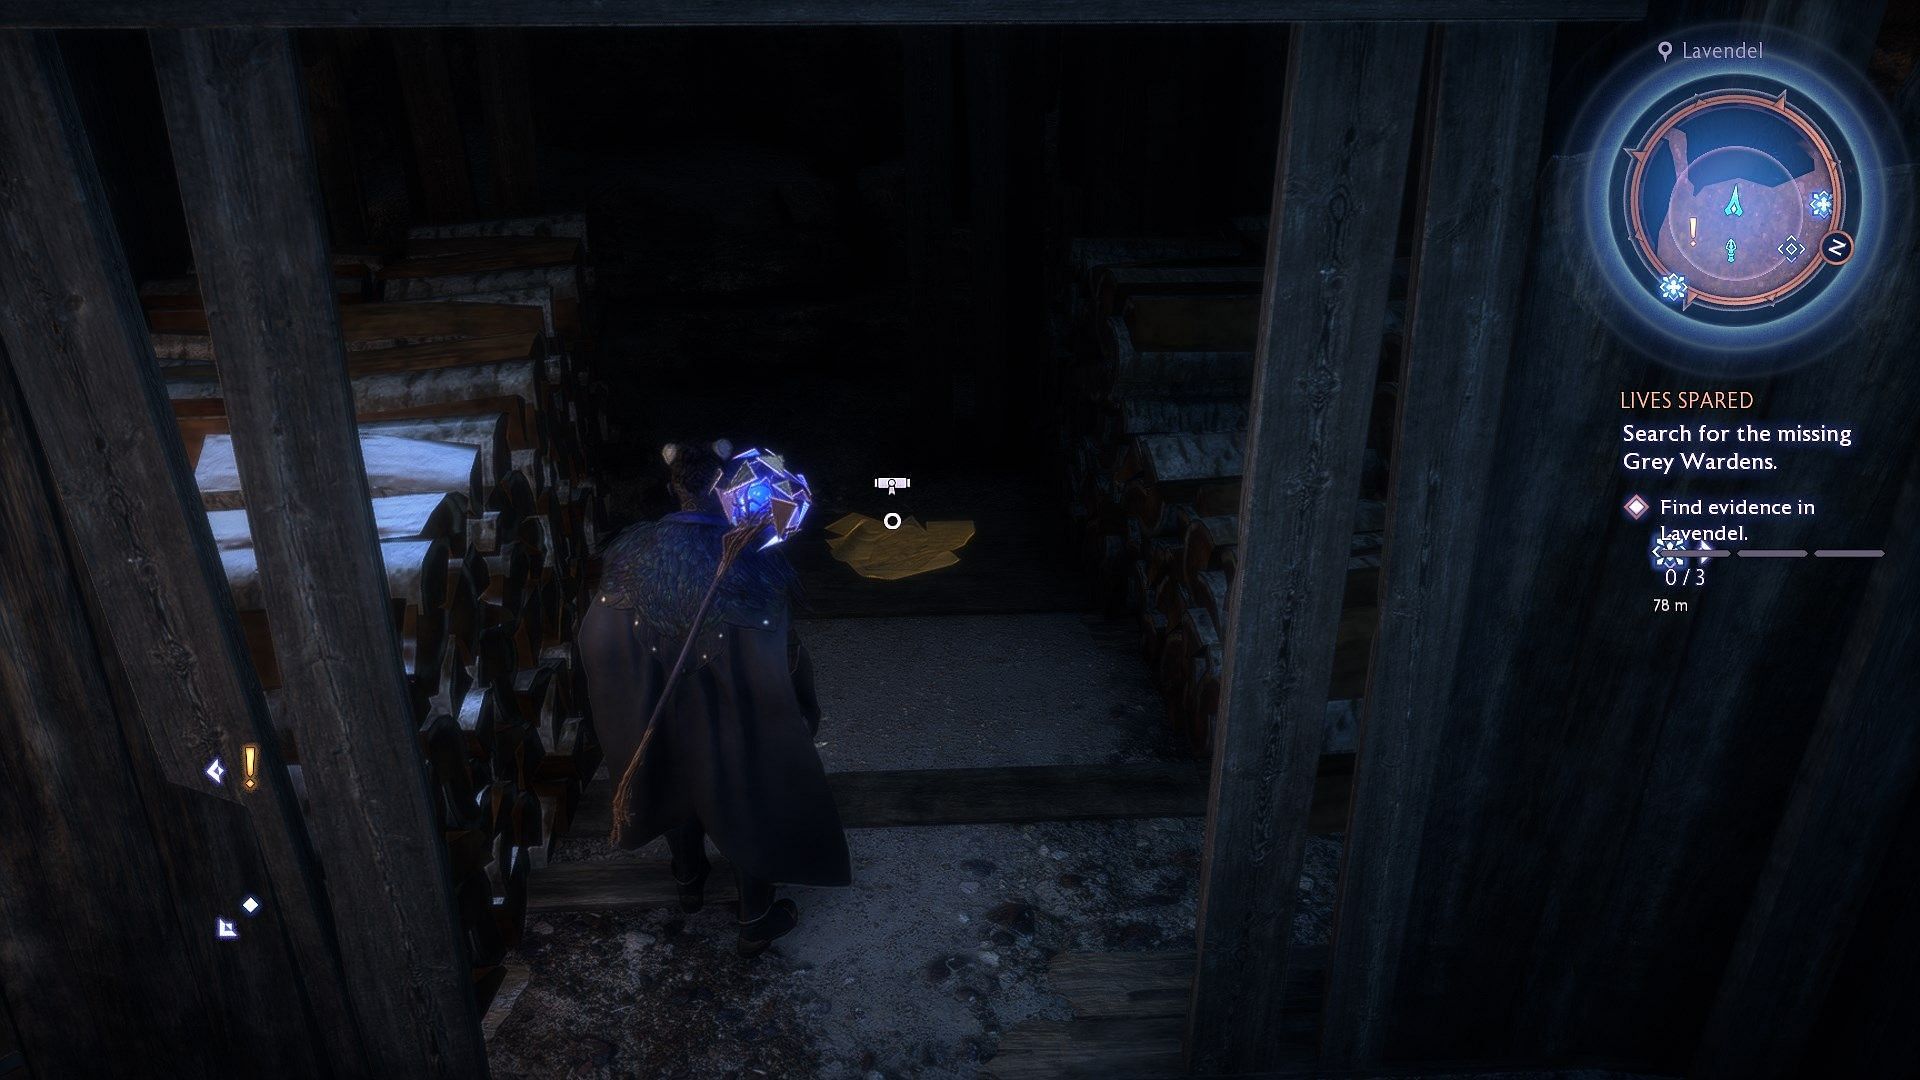
From Warden Greta's location, navigate to the northwest (check the quest marker on the map), and find the first evidence inside a hut.
Evidence 2:
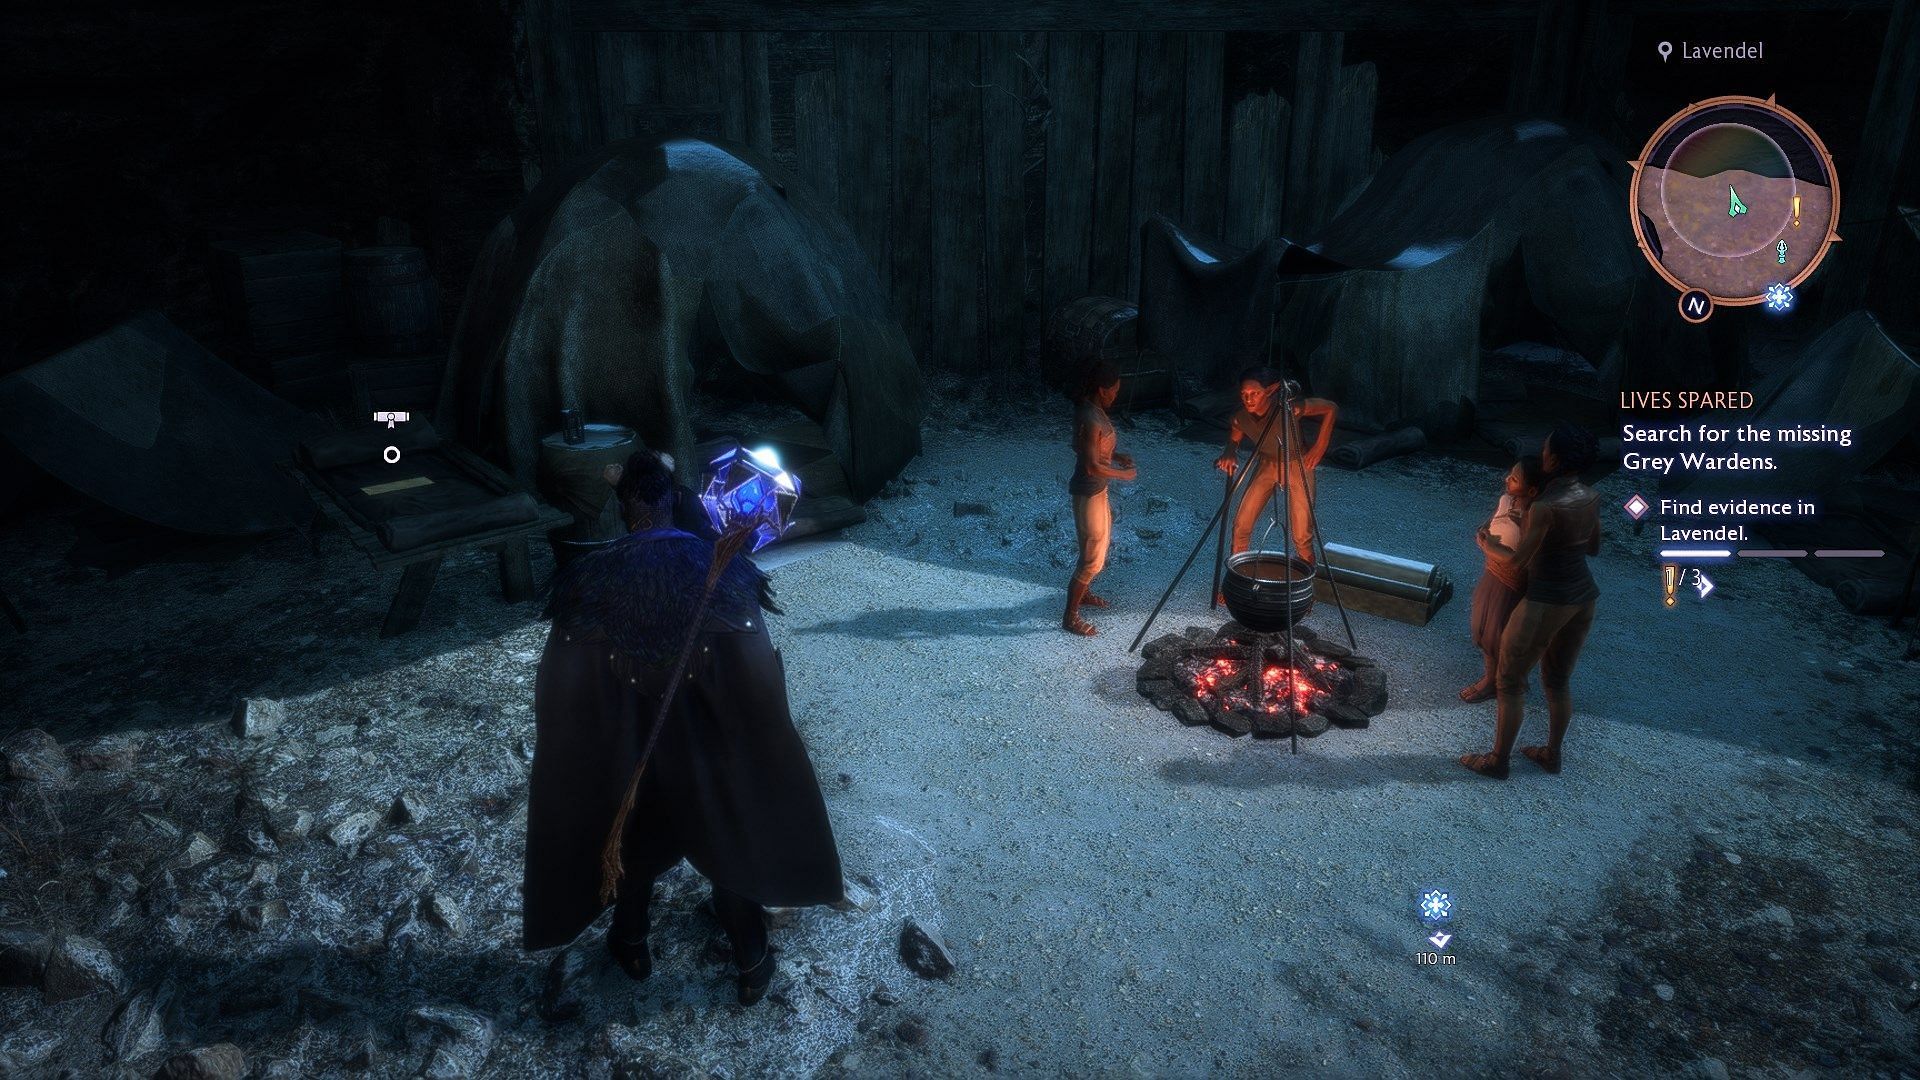
Go south from the hut to find the second evidence. It will be located beside a group of people standing around a cooking pot.
Evidence 3:
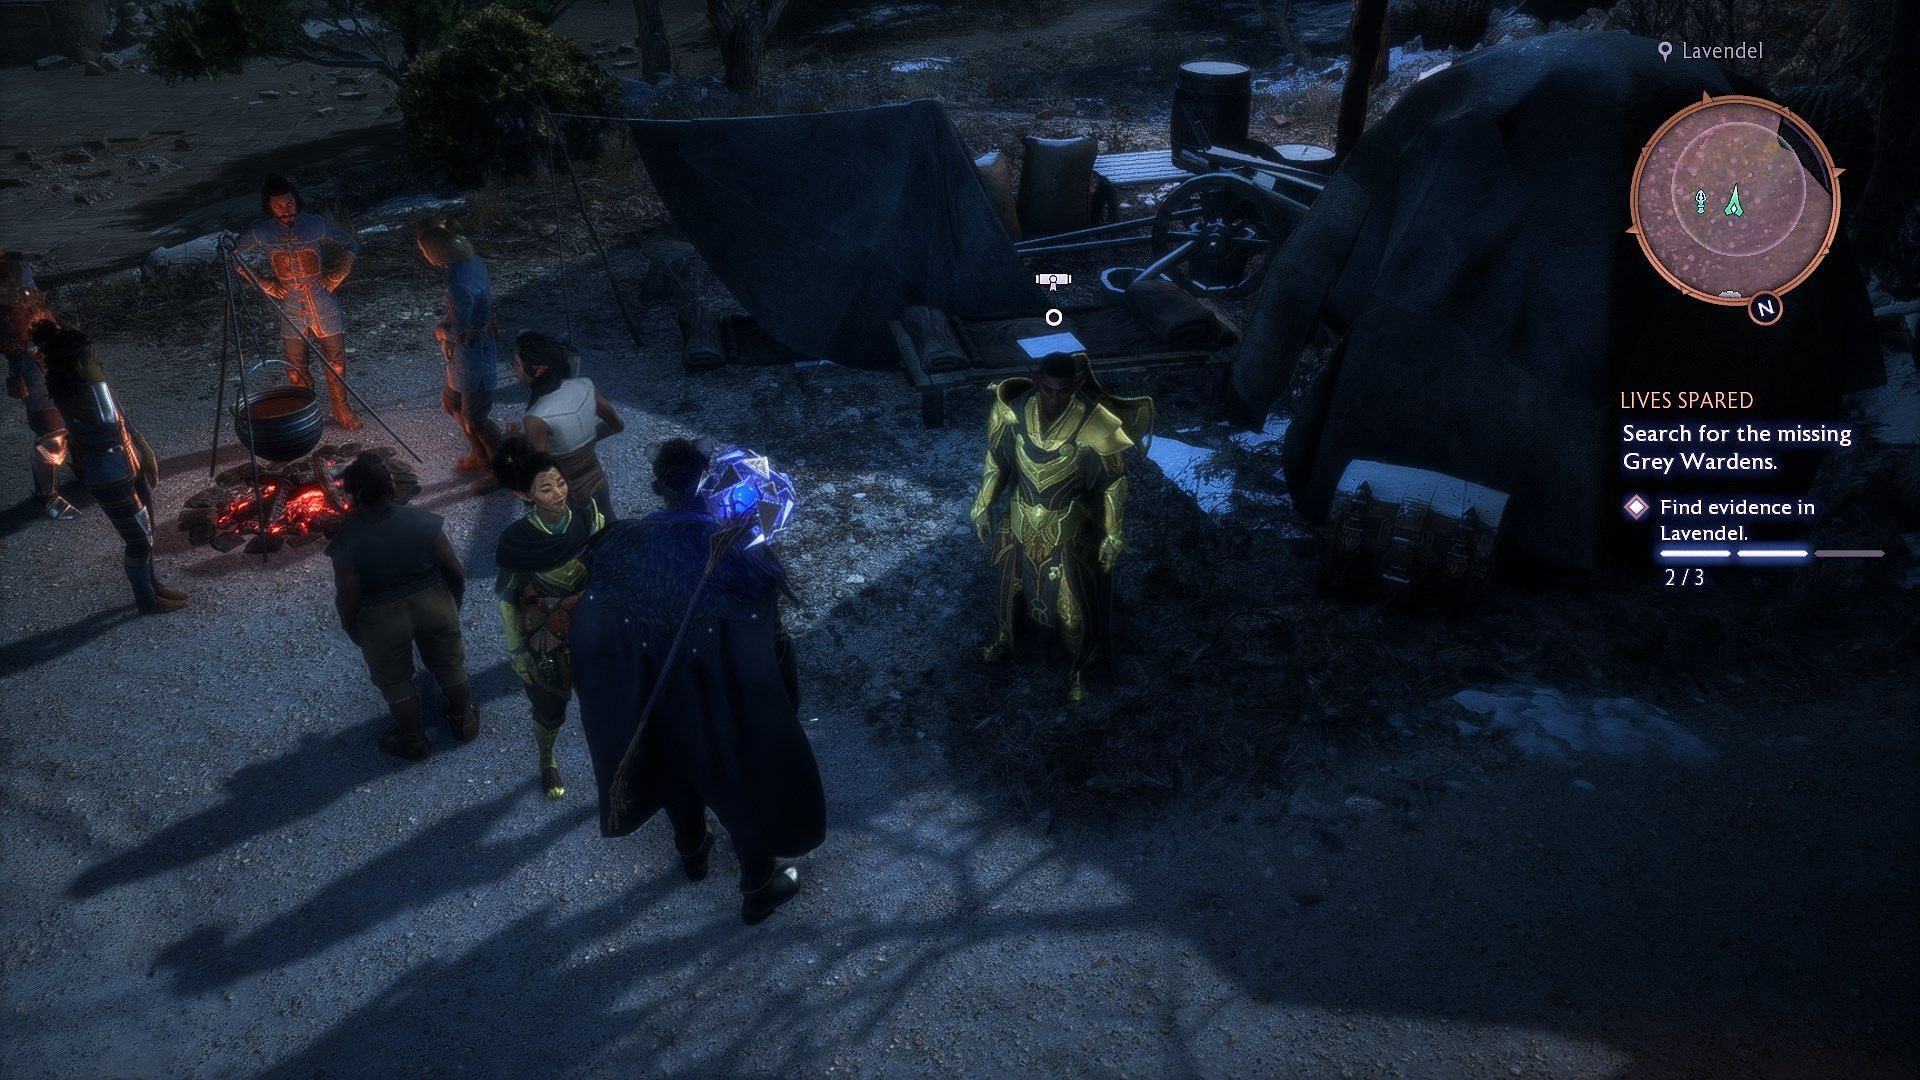
The last piece of evidence can be found beside the Beacon in the northwest. This one is also beside a group gathered around a cooking pot.
Once you're done collecting all three pieces of evidence, navigate to the Blighted Grove. Here, kill all the enemies and interact with the dying Warden to acquire the Fallen Map.
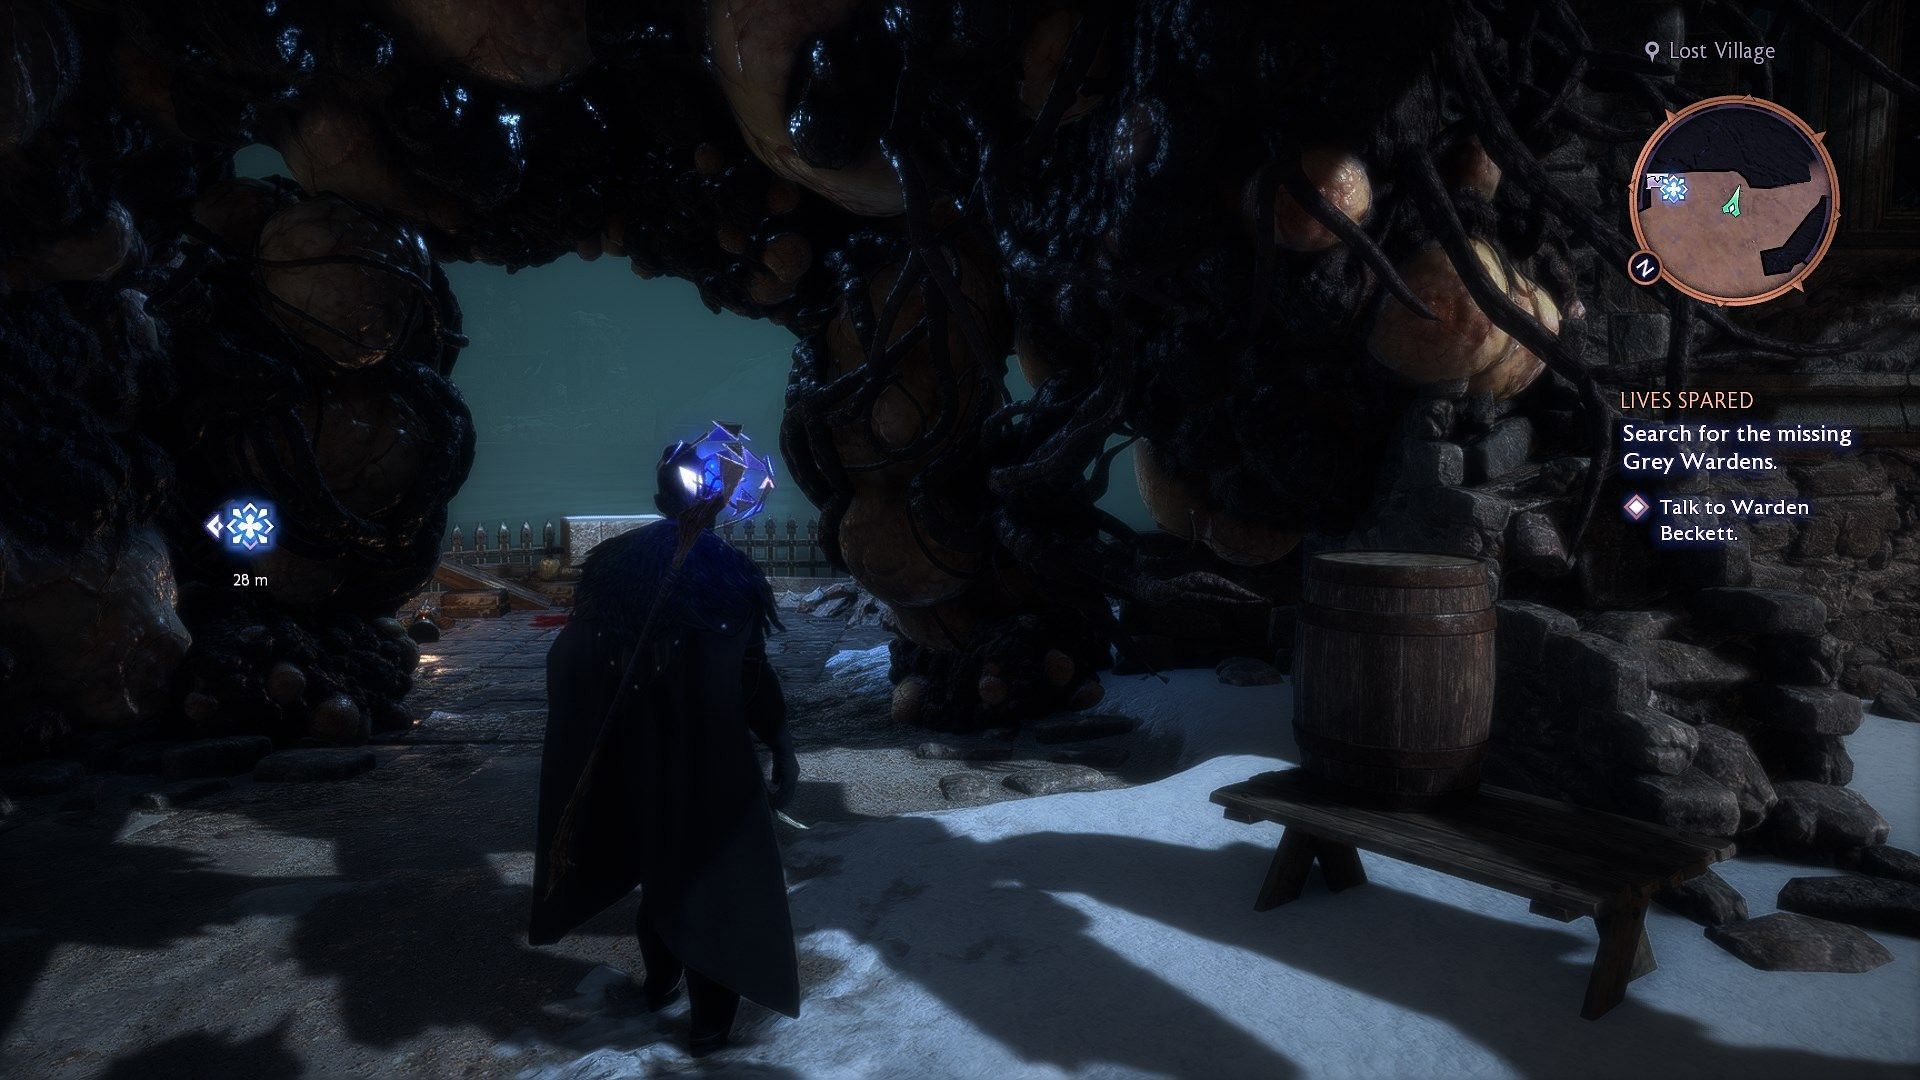
Afterward, follow the map marker and proceed through the Swamp road to reach the Lost Village. In there, you need to destroy several Blight Boils to unlock the gate. Then, go through the unlocked pathway, proceed left, and talk to Warden Beckett. Once the conversation is over, the Lives Spared side quest will be completed.
Notably, you will obtain 50 Grey Wardens Strength as well as companion bond increments after completing this side quest.
Check out more Dragon Age The Veilguard gameplay guides:
- How to complete the Wrongs of Annulment quest
- Lucanis guide: How to recruit, abilities, and equipment
- Best Faction Stores in Dragon Age The Veilguard