Stalker 2 walkthrough: How to complete The Price Goes Up mission
The Price Goes Up mission in Stalker 2 is triggered immediately after completing the Answers Comes at a Price quest. The objectives of this mission are quite easy to complete as they are straightforward and direct you to the exact spots. However, the region itself is dangerous and you should keep an eye out for any attacks from different creatures in the wild. Completing this mission will provide you access to the Deal with the Devil main mission.
Stalker 2 has a non-linear storyline where you can get to one of many endings of the game. The ending depends on your gameplay and mission choices, providing a personalized immersive experience. These quests are important to complete as they help you progress in the main story and discover the lore of the lands.
This article will highlight the best way to complete The Price Goes Up mission in Stalker 2.
Note: Parts of this article are subjective and reflect the author’s opinion.
How to complete The Price Goes Up in Stalker 2
Here is a quick overview that you can utilize to complete The Price Goes Up mission in Stalker 2 without any hiccups:
- Get to Slag Heap (marked on your map) and talk to the NPC (Non-player character) named Diode. After the conversation ends, you will be directed to go to the Workshop present to the Southwest from your location.

Also read: How to complete Answers Come at a Price mission
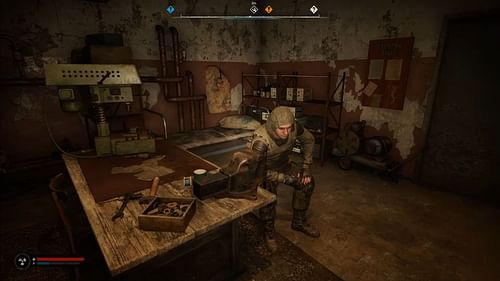
- The Workshop is present underground, so you must get down through a concrete cylinder. You can enter the area after breaking some wooden planks present at the bottom of the hole. The region is risky due to the presence of an Electrical Anomaly that explodes at regular intervals.
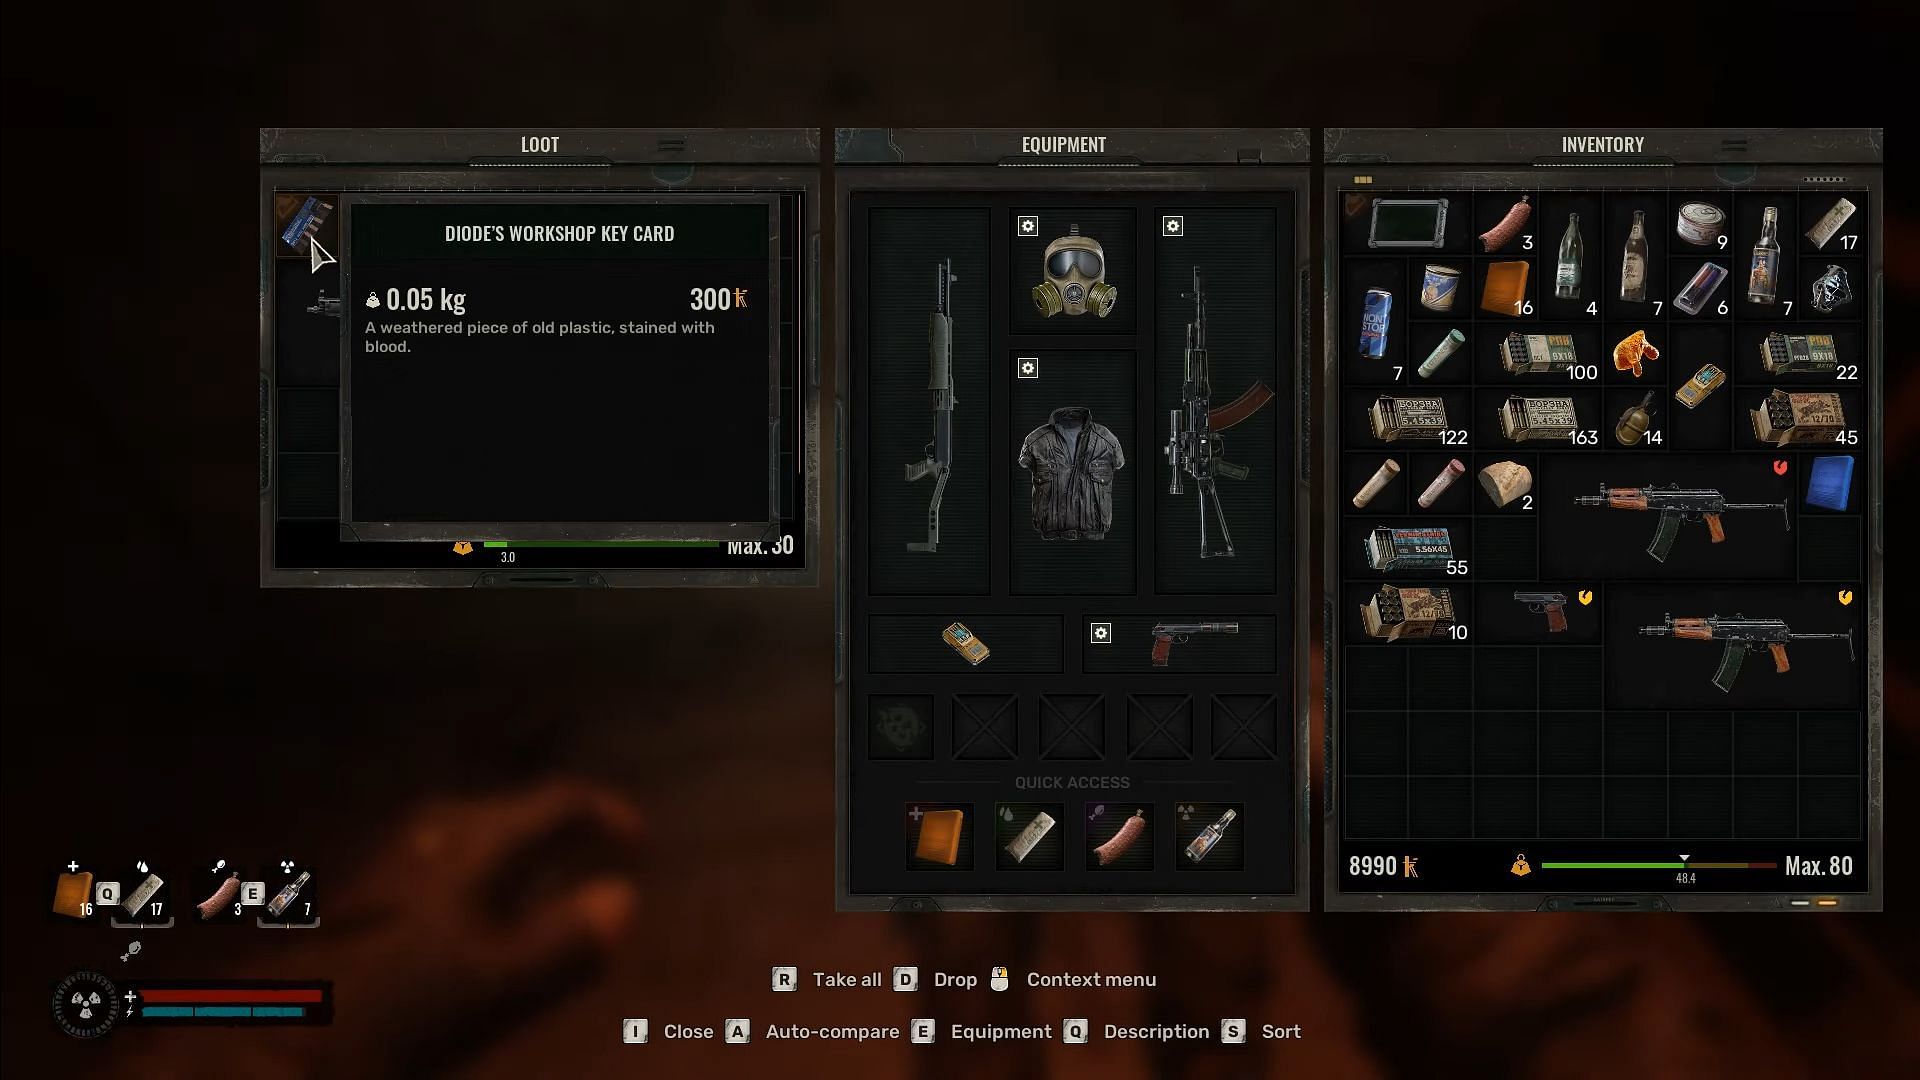
- Get Diode’s Workshop keys from this location. The key can be found in Zhora Desman’s body near the stairs at the end of the hallway. You can then make your way back to the place where you dropped down.
- Use the Ladder present at the end of the alley and climb to the exit route. The door will have a lock, so use the keycard obtained from the body. Once the door is unlocked, you can exit the Workshop.

Also read: How to complete There and Back Again mission
- Travel back to Slag Heap and interact with Diode once again to show him the keycard. This will provide you with the location of Nestor’s Stash. You can then follow the markers to find the stash location. At the end, you will find an entrance to a tunnel.
- Go down through this tunnel route and then climb up using platforms to get to a ladder. Climb this ladder and make your way to the broken-down crane. This is where you will find Richter. Interact with this NPC and complete the conversation.
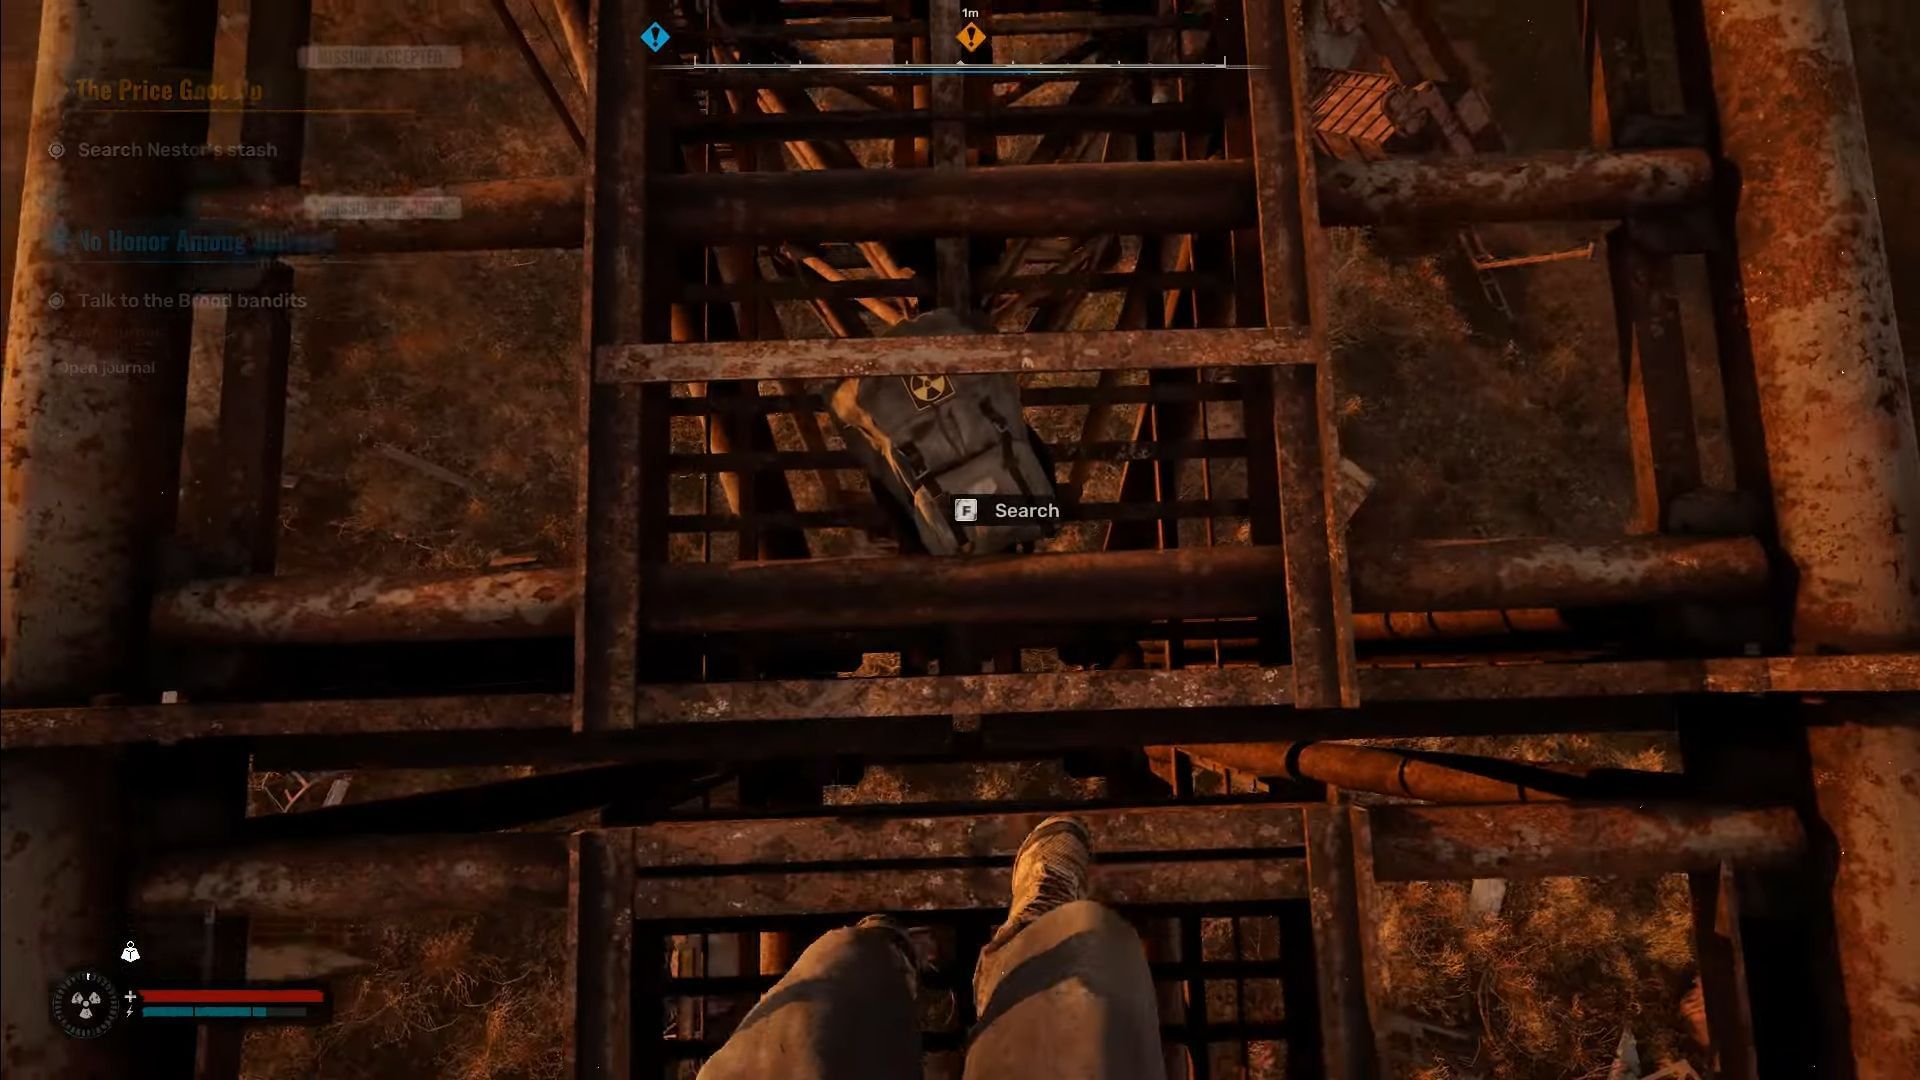
- Walk down ahead on the crane structure till you find Nestor’s Stash hidden below the walkable path. You can then loot this bag to get Nestor’s Flash Drive to complete the biggest objective of the entire mission.
- Once this is done, choose to complete one of two mini-tasks to complete the entire mission. The first is to enter the Dig Site and the second one requires you to investigate the Labyrinth.

Read more: What happens when you help Squint in Stalker 2?
- For the first task, head over to the Dig Site, which will be marked on your map. Enter underground through a makeshift tunnel covered with logs of wood. The area will contain a few monsters so you should be ready to take a fight. You can then go down this route and heal an NPC present lying on the ground. Interact with the character to gain information about the Scanner Scheme.
- For the second task, visit the Labyrinth, which will also be marked on your map. You must fight off several Rodents in this area when investigating the area.
- After clearing the region, search through the bodies and check the Varan Bandit’s corpse. The body can be identified because of the unique gas mask on the face and brown coat. Check the PDA on this body to gain information about the Scanner scheme.
It is important to note that completing either of these two tasks will mark the mission as completed.
Be sure to follow Sportskeeda for more updates, guides, and news:
- Is there a photo mode in Stalker 2?
- How to get Debut Suit in Stalker 2
- How to increase stamina in Stalker 2
- How to farm Coupons in Stalker 2