Path of Exile 2 Mercy for the Miller quest guide (defeat the Miller)
Path of Exile 2 begins with the Mercy for the Miller quest - this is essentially your main tutorial. Players who are unfamiliar with the PoE gameplay, or ARPGs in general will find it useful. Moreover, players new to PoE 2 will also get something useful out of this quest – their primary weapon and a skill gem to get them started. It’s a good way to learn how your class is likely to play in the early hours.
Mercy for the Miller is not an especially complex quest in Path of Exile 2. It’s set on a small map and only has one major fight. However, it’s worth noting that if you aren’t paying attention, the Bloated Miller can nearly one-shot you. Here’s how to complete this Act 1 quest.
How to complete Mercy for the Miller in Path of Exile 2
In addition to being a Path of Exile 2 tutorial quest, Mercy for the Miller also highlights the danger of boss battles in this game. The difficulty has certainly been turned up from PoE 1, as with the advent of a dodge roll comes the need to use it often. Below are the primary objectives of this quest.

Objectives
- Wake Up
- Traverse the River Banks
- Defeat the Bloated Miller
- Enter Town
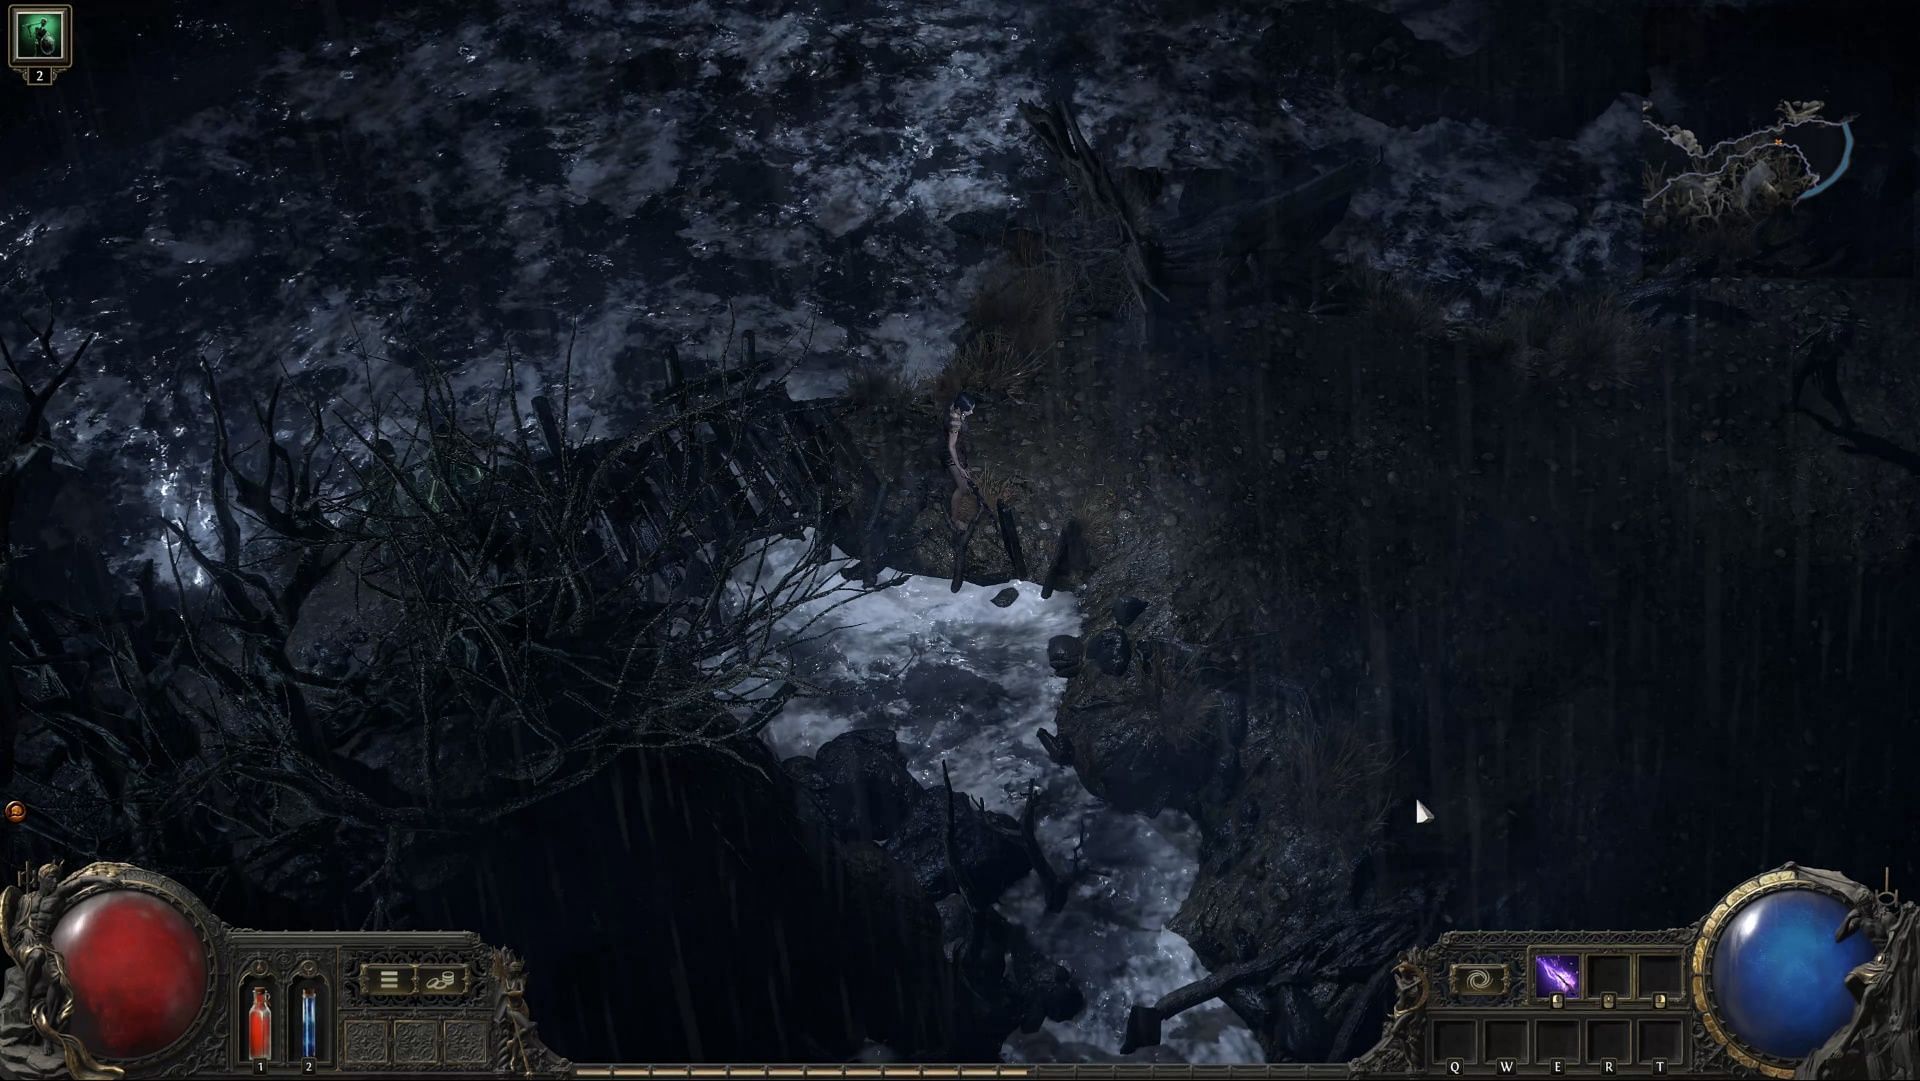
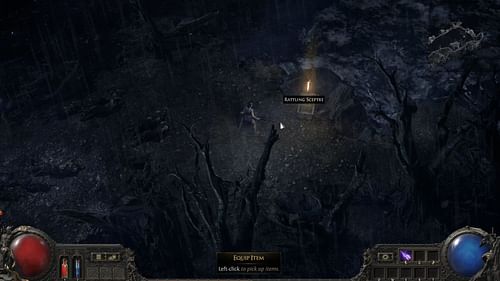
After Waking Up, you begin Mercy for the Miller in Path of Exile 2 immediately. This isn’t a huge map, but it’s still been randomized. It introduces you to your Health Pool (Red), Mana Pool (Blue), and your two potions (matching colors). Walk until you reach the injured man, and talk to him. You’ll get your weapon, and the tutorial will teach you how to equip it.
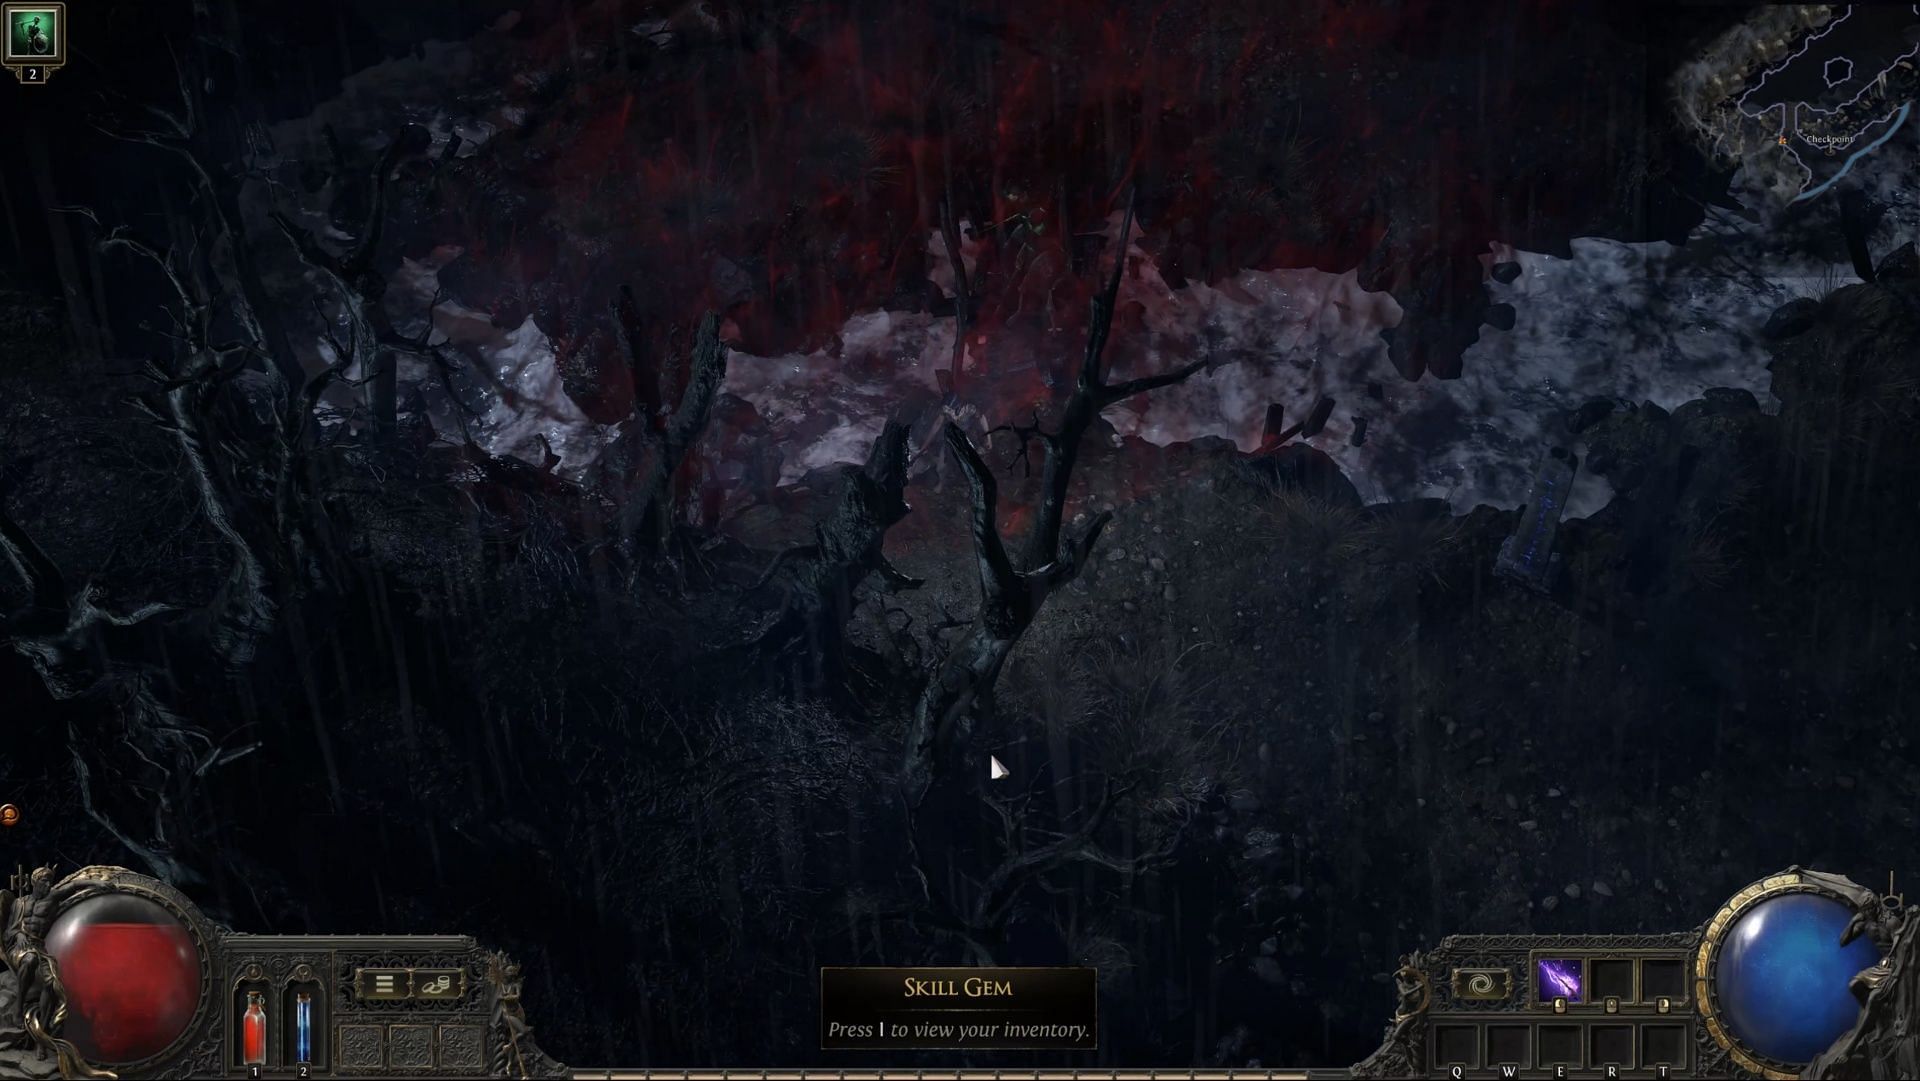
The next step is to Traverse the River Banks. Just explore the entire area, slay zombies, and open any chests you find for some equipment. You won’t be able to progress until you find the next objective - your first Skill Gem. The game will make you equip it, and use it before the red mist covering the way forward clears and gives you a Checkpoint.

There’s a bit more of the map to explore before you come across another Checkpoint. Do note that if you die, you’ll respawn at the nearest Checkpoint. Usually, they’re in front of something important, like a boss, or a Waypoint. Once you go beyond the Checkpoint, you’ll move on to the next step: Defeat the Bloated Miller.
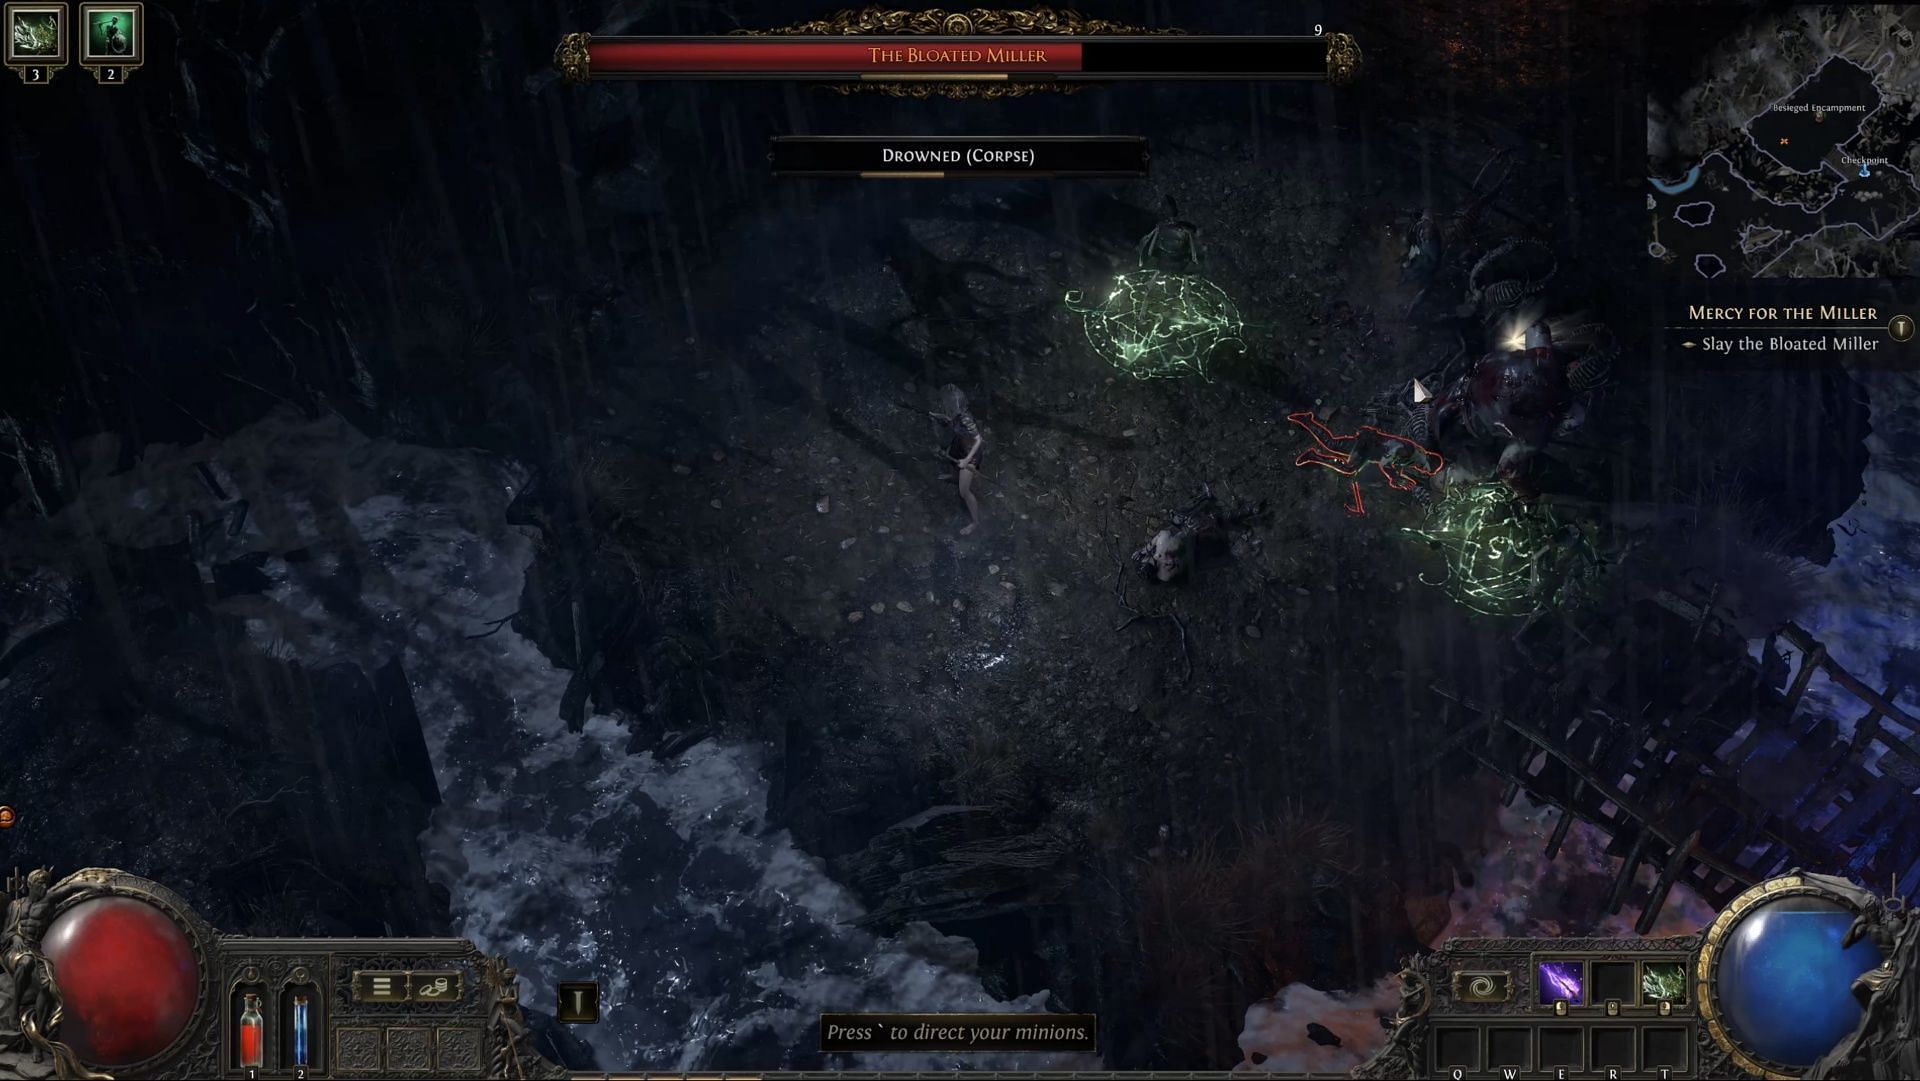
A straightforward boss, it has a few slow melee attacks, and only moves swiftly when turning and charging. This will teach you the Dodge Roll mechanic. His most dangerous attack is a charged ranged attack.

After a delay, he’ll fire a blast at you. If it hits you, it’s going to deal tons of damage unless you’re a tanky character. The only other thing to worry about is that he can summon zombies. Deal with these as you can, but focus on the boss. Just make sure you don’t get overrun since he won’t stop summoning them.
Defeating him will give you a few rewards, and once you Enter Town you’ll meet Renly, who will give you an Uncut Skill Gem before sending you towards your next quest objective. This will also put you in your main hub/camp for Act I.
Check out our other Path of Exile 2 guides and features
- Path of Exile 2 beginner tips: 7 important things to get you started
- Which Path of Exile 2 class should you pick as a Diablo 4 player?
- Path of Exile 2: Beira of the Rotten Pack boss guide